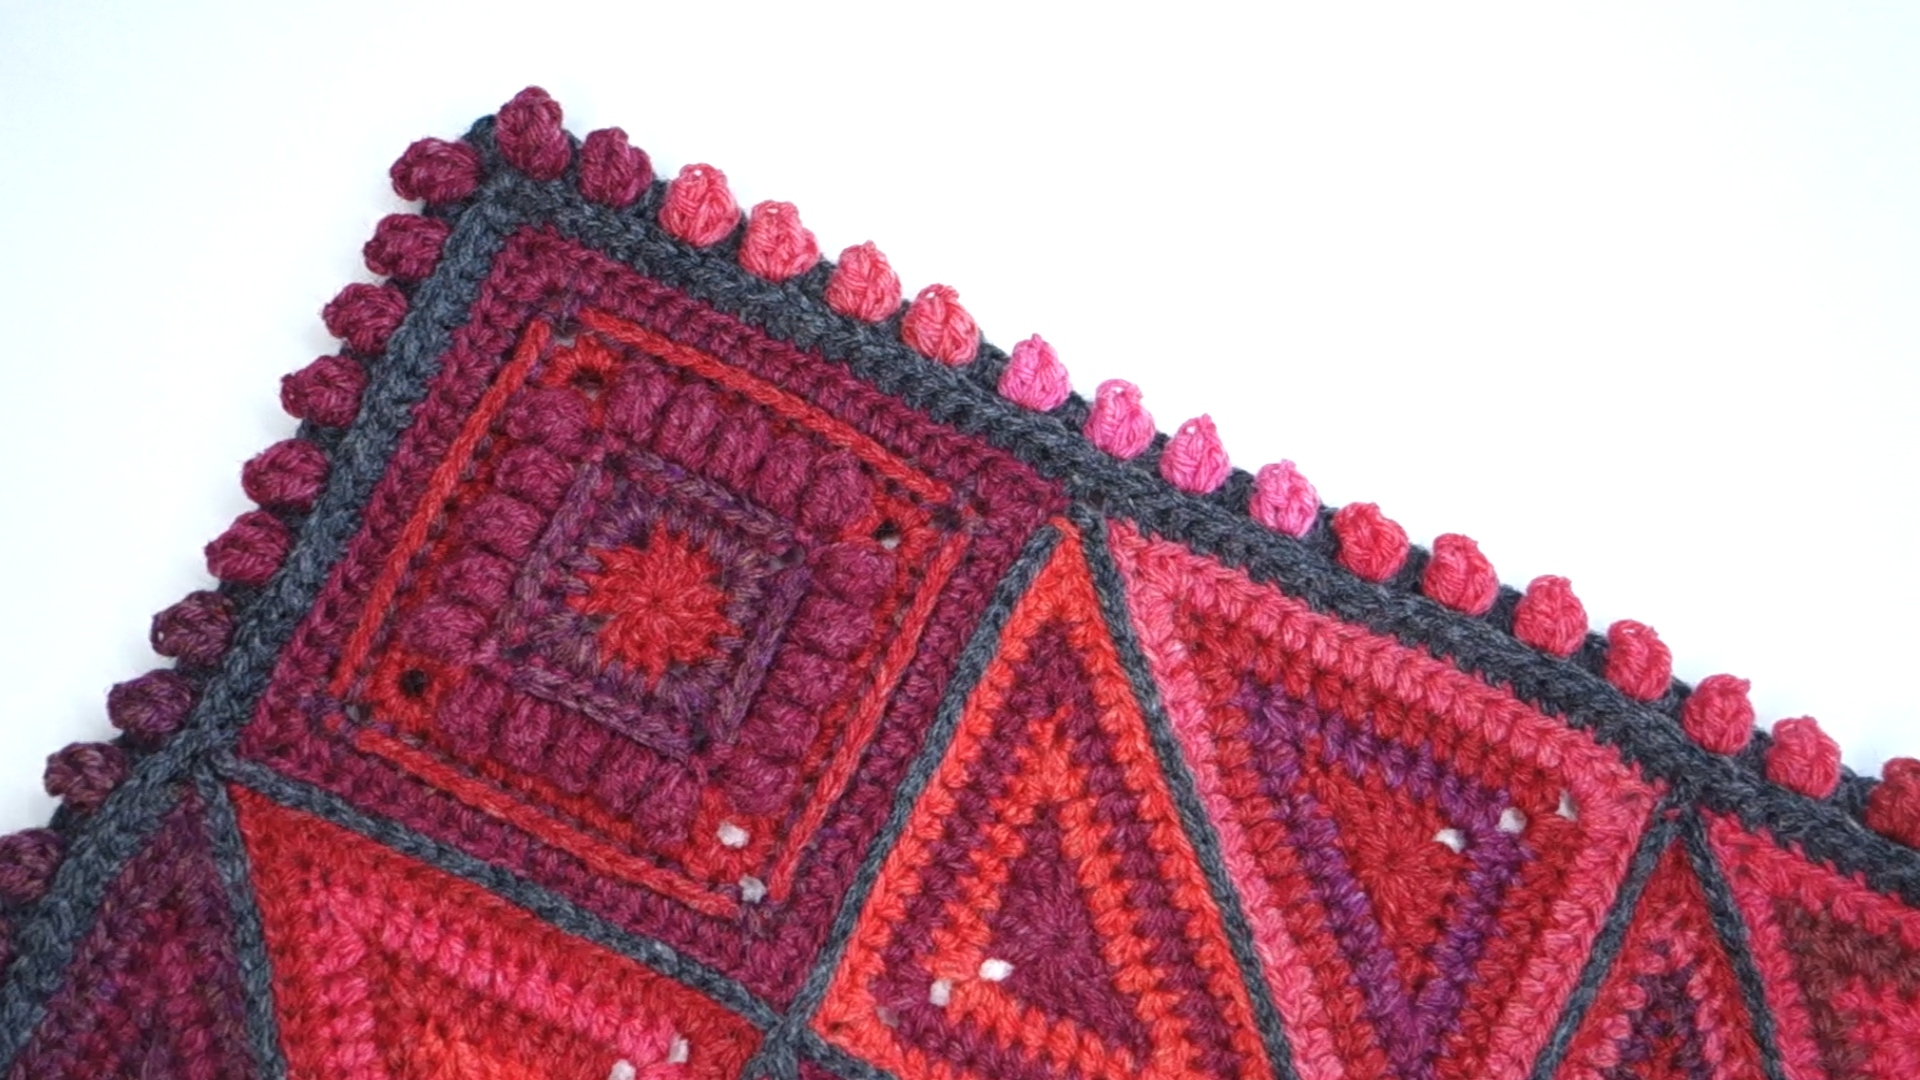
For the last official and 8th week the Festival of Lights CAL I will show you how to make the border.
Don’t worry, even though this is the last official week of the CAL that just means it is the last pattern release day. The patterns, blogs posts, video tutorials will remain available and free indefinitely and the Scheepjes team, the community, and I will still be here for you too.
The written PDF of the pattern can be found here on the Scheepjes website.
For photos to accompany the pattern jump to the bottom of this post here.
Important Links
I will add these links as they become available.
- My Main CAL Information Page
- Bonus Blog (FAQ, Yarn Quantities, Enlarging)
- The Scheepjes website page for the CAL – English/Nederlands
- Scheepjes official Tips and Tricks PDF
- Scheepjes International Facebook Group https://www.facebook.com/groups/ScheepjesCAL.International/
- Scheepjes Nederlandse Facebook Groep https://www.facebook.com/groups/scheepjescal/
- YouTube Video Playlists for the CAL
- Ravelry Pattern Page
- USA: Jimmy Beans Wool Scheepjes Yarn: Organicon Kit / Metropolis Kit
- World wide: Color packs in the Scheepjes Amazon Shop
Contents
- Getting Started
- Video Links
- Picking Colors for the Popcorns
- Special Stitches and Techniques
- Supplemental Photos
- Thank you!
- Support My Work
- Important Links
Getting Started
Scheepjes has made two beautiful official kits for this CAL of Scheepjes Metropolis and Organicon yarns.
To purchase a kit, you can check for a Scheepjes Retailer in your area, or please consider using my affiliate link below. Shopping though this link earns me a small commission to support my design work at no additional cost to you. Thank You!
World wide: Color packs in the Scheepjes Amazon Shop
USA: Jimmy Beans Wool Scheepjes Yarn: Organicon Kit / Metropolis Kit
Kits are sold out in many places; you can find more information on yarn that is in the kit and estimates for other scheepjes yarns in this post here.
If you haven’t already, I highly recommend joining the Scheepjes Facebook Groups. The groups are incredibly friendly and supportive. There you can share progress photos, get inspiration, and ask for help if needed.
- Worldwide: Scheepjes International Facebook Group
- Dutch: Scheepjes Dutch Facebook Group
I have also made video tutorials for this CAL that I will be posting for each part on my YouTube Channel.
There will not be a complete photo tutorial for this pattern, but I will provide some supplementary photographs for the trickier bits on the blog post for each piece of the pattern.
Video Link
I have made videos tutorials for all the parts of this CAL here are the links for this week. There are videos for UK and US terms. I have also tried to make them clear enough visually that it will still be helpful without the sound.
- Festival of Lights Scheepjes CAL – Part 7 – UK Terms – Right-handed
- Festival of Lights Scheepjes CAL – Part 7 – UK Terms – Left-handed
- Festival of Lights Scheepjes CAL – Part 7 – US Terms – Right-handed
- Festival of Lights Scheepjes CAL – Part 7 – US Terms – Left-handed
Special Thank you to Fiona Kelly for providing a Dutch Voiceover! Here are the Videos in Dutch.
- Festival of Lights Scheepjes CAL – Deel 7 – Nederlands – Rechtshandig
- Festival of Lights Scheepjes CAL – Deel 7 – Nederlands – Linkshandig
I also have an introductory video that has tips and tricks for staying organized and a little bit about my inspiration
Introduction and Tips and Trick Video
Introductie, Tips & Tricks – Nederlands
You can subscribe to my channel and turn on notifications to be notified when each video comes out.
Picking Colors for the Popcorns
For the popcorn stitches in the border, we will use remnants of the colours in an order that suits your preference. If you would like to match the sample exactly the colours used are listed on the colour placement chart along with the number of popcorn stitches made with each colour. If you are using the metropolis kit you may need to change the number of popcorns made in a colour depending on how much you have remaining.


Special Stitches and Techniques
Here are some of the stitches that will be used in this pattern.
Beginning stitches (beg sts)
In this pattern beginning stitches are used for the first stitch of a round when the yarn is already attached. For the border we will use a Beginning Popcorn Stitch (beg pc), which involves a UK Beginning Treble Crochet (beg tr) / US Beginning Double Crochet (beg dc).
- UK Beginning treble crochet (beg tr): 1dc, ch1 (counts as 1 tr)
- US Beginning Double crochet (beg dc): 1sc, ch1 (counts as 1 dc)
- Beginning Popcorn (beg pc): see details below
Standing stitches
In this pattern standing stitches are used for the first stitch of a round when a new yarn is used. For the triangle motif we will use a standing version of htr. To make a standing stitch make a slip knot on the hook then work the indicated stitch.
Standing stitches – Alternative Method
I like to use an alternative method of standing stitches for rounds that end with a needle join. Instead of making a slip knot simply wrap the yarn around the hook {image 1} then work the indicated stitch {image 2}. Without the slip knot, the top portion of the stitch can be removed and replaced during the needle join.


Needle Join
Cut yarn leaving long tail for weaving in end; lift loop with hook until tail emerges then thread tail onto needle {image 1},
If the round was started with a standing stitch without a slip knot, gently lift and remove the top portion of the standing stitch {image 2}.
Sk next st and insert needle from front to back through both loops of following st {image 3}.
Insert needle down through st where tail emerged and under back bump through to reverse {image 4}, pulling gently to create false st identical in size


Popcorn stitch
To make a popcorn stitch work UK 4tr (US 4dc) in indicated st/sp, remove loop from hook, insert hook front to back in top of first st, place loop back on hook and draw through st


Please note that a “closing chain” is not included with the stitch, all chains will be written into the pattern.
Beginning Popcorn stitch
To make a beginning popcorn stitch work a UK beg tr (US beg dc) and UK 3tr (US 3dc) in indicated st/sp, remove loop from hook, insert hook front to back in the chain of beg st, place loop back on hook and draw through st


Back Post stitches
Insert hook from back to front to back to go around post of st indicated, work st


Front Post stitches
Insert hook from front to back to front to go around post of st indicated, work st


Supplemental Photos
Round 1
First stitch and Round 1 completed.


When you get to a join like where the join continues around a motif corner you can catch the join as well as the BL of the stitch you are working in. Just make sure that you don’t accidentally add a stitch.

You may find that a gap forms at each of the joins, don’t worry these gaps will be closed when we add the surface crochet detail at the end.

Round 2
First stitch and Round 2 completed.


Round 3
To change colors during this round, finish a popcorn stitch, cut the yarn leaving a nice long tail for weaving in. Attach the new colour, I am using a little knot here.


Now you can continue with the new colour.


Round 4
Round 4 is worked in the skipped stitches from round 2 AND over the chain spaces, trapping the chains in the stitches. (back and front completed below)


Ss Surface Crochet Detail
When we finish round 4 of the border, you might still notice a gap at each join. To close these gaps and really tie the border in with the joining we will work a slip stitch back loop only at base of each round 1 back loop only stitch. (before and after slip stitch)


To start the slip stitch, hold your yarn behind the blanket and insert your hook from front to back in any corner space (or any space) back loop only at the bottom of round 1.

When needle joining a slip stitch take the needle and insert if front to back under these two loops of the first slip stitch.


Then reinsert your needle from where the yarn emerged from and pull it to make a false stitch identical in size.


Cleaning up the Meeting of Joins and Border with Ends
We are going to use the ends to clean up the meeting of the join with the border. To do this we are essentially replicating a slip stitch with our needle.
Thread the needle on the tail that finishes a joining path and insert it under the slip stitch surface crochet stitch directly above, then back down under the following stitch.


Reinsert the needle, front to back, from where the yarn emerged from and pull it to make a false stitch. Then insert the needle from back to front close to the top of this false stitch


Next insert the needle under both loops of the first slip stitch of the other joining path, and finally reinsert the needle, front to back, from where the yarn last emerged from and pull it to make a second false stitch.


All cleaned up.

Finished Border

Thank you!
Thank you all so much for participating in this crochet along with me. I would love to see all of your projects, if you like please share on Instagram with the hash tag #FestivalOfLightsCAL or in the Facebook groups.


Happy Crafting!

Support My Work
Thank you for reading my blog, you are supporting my design work just by being here! Here are some other ways you can support my design work.
- Follow me on Instagram or Facebook – I post new pattern releases and such on my Instagram feed and Facebook page, following, liking, and commenting will keep you up to date and help other find my design work.
- Join my Facebook group – This is a place to ask questions and get help from me and the community, share your creations and talk about my patterns.
- Browse my self-published patterns – I have several patterns on Etsy and Ravelry. My portfolio of designs is not extensive yet, but I am continuing to add new patterns.
- Watch my Videos on YouTube– Video tutorials for each part of this CAL will be available on my YouTube channel along with a (very) few other tutorials I have made. Watching the videos, subscribing to my channel, commenting on and liking the videos will all support my design work.
- Affiliate links – Shopping through my links supports me at no additional cost to you as I get a small commission through my affiliates. Scheepjes Amazon Shop, Jimmy Beans Wool, Yarn Addicted and Co on Etsy (US shipping only)
Sign up for my newsletter to receive updates on pattern releases
Important Links
I will add these links as they become available.
- My Main CAL Information Page
- Bonus Blog (FAQ, Yarn Quantities, Enlarging)
- The Scheepjes website page for the CAL – English/Nederlands
- Scheepjes official Tips and Tricks PDF
- Scheepjes International Facebook Group https://www.facebook.com/groups/ScheepjesCAL.International/
- Scheepjes Nederlandse Facebook Groep https://www.facebook.com/groups/scheepjescal/
- YouTube Video Playlists for the CAL
- Ravelry Pattern Page
- USA: Jimmy Beans Wool Scheepjes Yarn: Organicon Kit / Metropolis Kit
- World wide: Color packs in the Scheepjes Amazon Shop


Leave a Reply