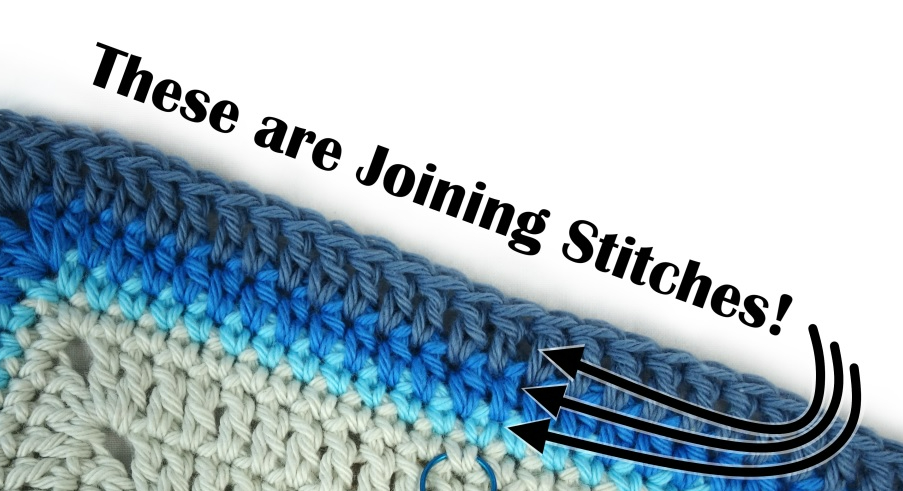
I like to make my standing stitches and needle join a little different than I usually see. This is the method that I use that produces the most invisible join I could figure out.
For the purposes of this blog, I am using US dc stitches for my example below, but this technique can be applied to most any crochet stitch. I have also created a video demonstrating this technique. In the video I demonstrate US sc, hdc and dc stitches.
The key to this method is starting with a knotless standing stitch.
Standing Stitches
I like to make my standing stitches with a “provisional top loop” so that I can later remove and replace it with a needle join.
{1} Loop the yarn around your hook (do not make a slip knot),

{2} make stitch as usual.

Needle Join (NJ)
With the standing stitch used as the starting stitch a needle join is then used to join the round.
{1} Cut yarn leaving a tail for weaving in the ends.

{2} Pull the loop to pull the end through with your hook.

{3} Insert your needle in the back loop of the first “standing” stitch with “provisional top loop” and gently pull the beginning end loose to remove the top loops of the first stitch.

{4} Thread your ending tail on to a tapestry needle and insert the needle, from front to back, through both loops of the second stitch.

{5} Flip your piece to the reverse side and insert the needle from the top through the back and third loop of the last stitch.

{6} Pull the tail until the new loops created for the first stitch are even with the rest of the stitches and cross over the two tails. From here you may ether weave in the ends right away or you can tie a little knot in the back.

If your round did not start with a standing stitch, then you can still use a needle join to finish the round. This might happen if you are making several rounds of the same color.
In this case, cut yarn leaving a tail for weaving in the ends. Pull the loop to pull the end through with your hook. Thread your ending tail on to a tapestry needle and insert the needle, from front to back, through both loops of the second stitch. Flip your piece to the reverse side and insert the needle from the top through the back and third loop of the last stitch. Pull the tail until the new loops created for the first stitch are even with the rest of the stitches.
Happy Crafting!

Support My Work
Thank you for reading my blog, you are supporting my design work just by being here! Here are some other ways you can support my design work.
- Follow me on Instagram or Facebook – I post new pattern releases and such on my Instagram feed and Facebook page, following, liking, and commenting will keep you up to date and help other find my design work.
- Browse my self-published patterns – I have several patterns on Etsy and Ravelry. My portfolio of designs is not extensive yet, but I am continuing to add new patterns.
- Watch my Videos on YouTube– I occasionally make YouTube videos to help with my patterns. Watching the videos, subscribing to my channel, commenting on and liking the videos will all support my design work. Even if you just play my videos in the background supports me as a designer.
- Affiliate links – Shopping through my links supports me at no additional cost to you as I get a small commission through my affiliates. Scheepjes Amazon Shop, Jimmy Beans Wool, Yarn Addicted and Co on Etsy (US shipping only)
Copyright
Copyright © 2023 by Jessica Wifall. All rights reserved.
Please do not sell, redistribute, or edit this pattern in any way. You may sell the finished products but please credit me as the designer of the pattern.


Leave a Reply